Z652 Digital Libraries, Fall 2022, Section 3874
A course on digital libraries and building digital collections.
imagemagick
Some sample image commands
get image file information
magick identify image.tif
convert from tiff to jpeg
magick image.tif image.jpgmagick -quality 80 image.tif image.jpg
scale image
magick image.tif -scale 50% image.jpg
make grayscale
magick image.tif -type Grayscale image.jpg
resize image
magick image.tif -resize 1000 image.pngmagick image.tif -resize x1000 image.png
crop image
magick image.jpg -crop 800x800+1000+1000 crop.jpg
scale and crop image
magick image.jpg -scale 25% -crop 300x300+500+500 crop.jpg
modify brightness, saturation, hue
magick old.jpg -modulate 150,100,100 new.jpg
The above command increases brightness 150%. To decrease brightness, use values less than 100.
The 3 numbers represent: brightness, saturation, and hue. They are all interpreted as percentages.
add border
magick image.png -bordercolor red -border 1 border.png
Lab
- Download sample image file: http://ella.slis.indiana.edu/~jawalsh/teaching/z652/sample_images.zip
- Run some imagemagick commands to convert your tiff files to 3 different sizes of jpg files:
- a “large” file that is 1000 pixels long on its longest side
- a “medium” file that 500 pixels long on its longest side
- a “thumbnail” file that is 200 pixels long on its longest side
- Use imagemagick to rotate the
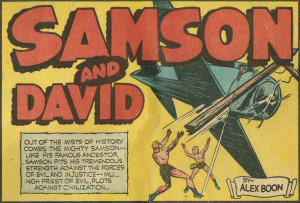
rotate_left.tiffandrotate_right.tiffimages. - Use imagemagick to crop the
comics.tifimages so you have an image file with just the title panel: - Spend a few minutes experimenting with the commands above, then review the documentation at https://www.imagemagick.org/script/command-line-processing.php and https://www.imagemagick.org/script/command-line-tools.php and explore some commands on your own. You might also try searching the internet for things like “imagemagick watermark” for instructions on how to use imagemagick to put a watermark on your images. Or try one of these short tutorials: